Tiki Tings: DIY Tiki Costumes
/Halloween is our favorite holiday to get really creative and make our own unique costumes. Earlier this week we took to Instagram to see if you all could guess what we’d dress up as this year. We got everything from Jungle Explorers, Island Tourists, to Drag Queens, but only a couple of you came close. It’s been really hard to keep this project a secret, but here it is!

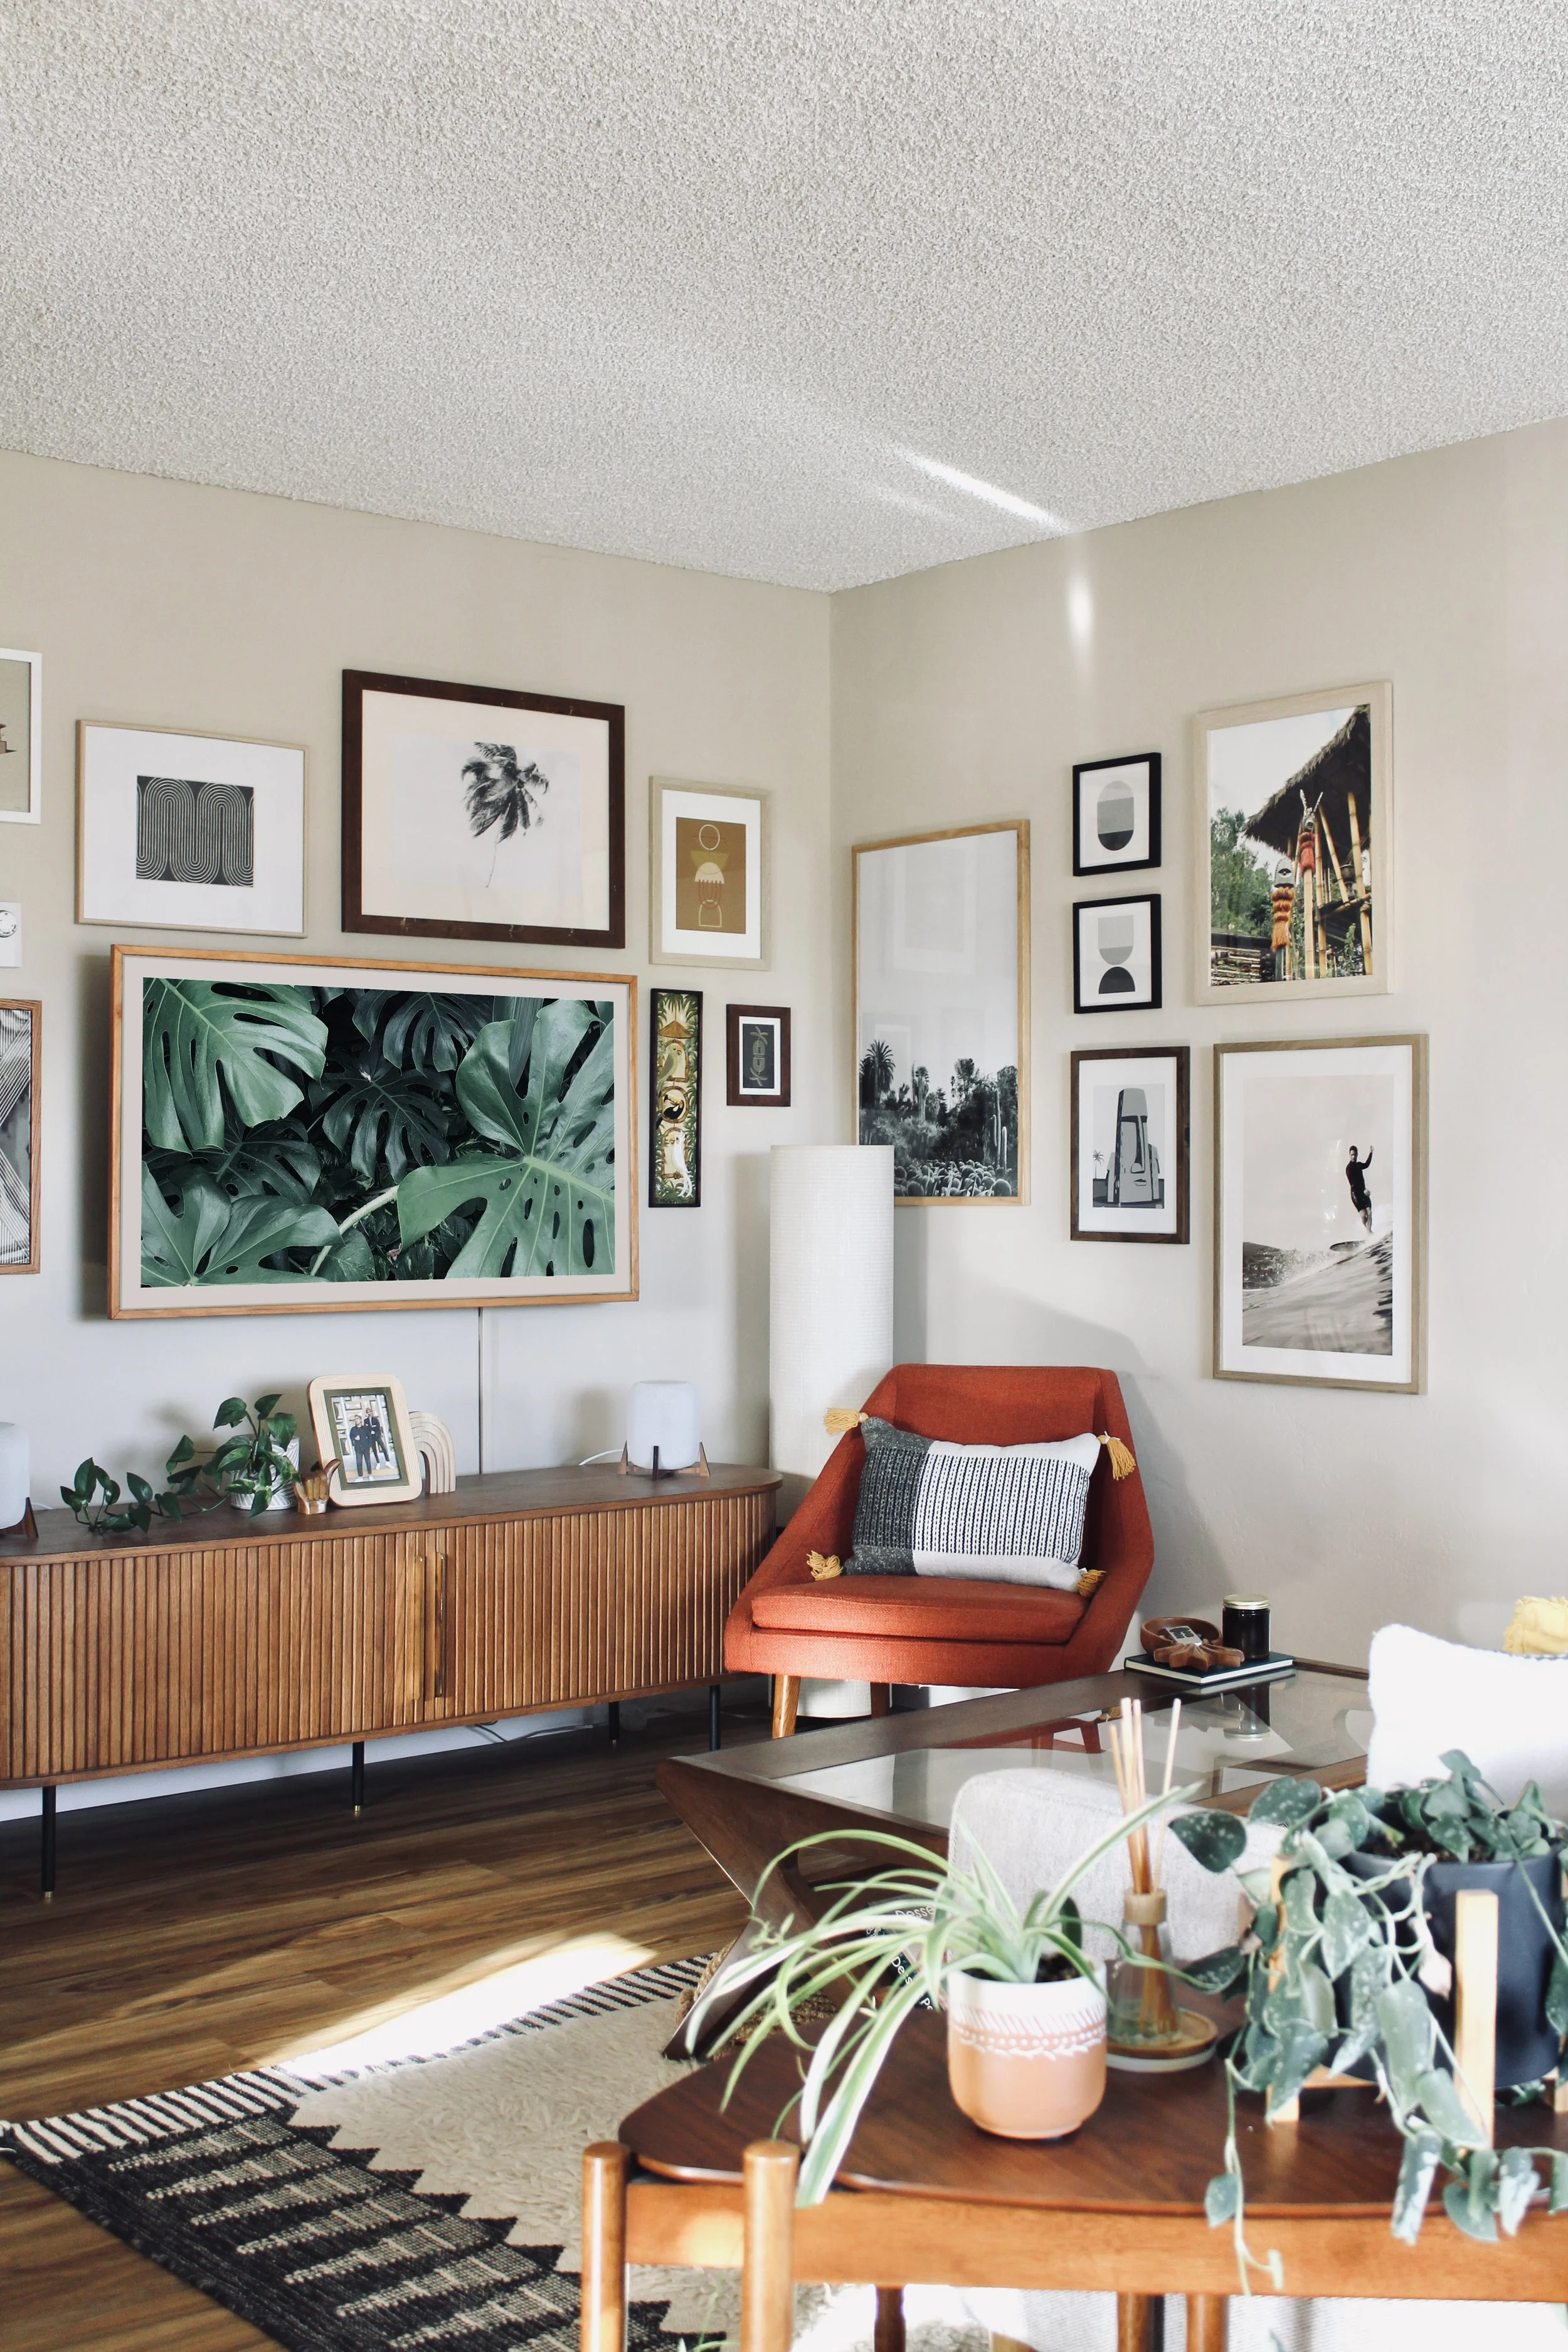
In the spirit of the Tiki Collective, Kane decided to bring to life the Tiki Mask from our logo, while I went for a Tiki Drink, which was one of the inspirations for starting this blog.
If you’re still not sure what to be for all the festivities this weekend, we’ll show you how to make these costumes in just a couple hours with some cardboard and paint.
TIKI DRINK
TOTAL TIME: 4 Hours
SUPPLIES
Cardboard boxes
Poster Board (For the straw)
Red Ball Container (For the cherry)
Box Cutter or X-acto Knife
Paint (Latex or Acrylic)
Paint Roller
Hot Glue Gun
DIRECTIONS
1. Cut the cardboard sheet to the size you want for the body of your cup. I recommend bending the cardboard and curving it around your body before cutting so you can see how big you want it to be.
2. Using a straight edge and an X-acto knife, lightly score the cardboard from top to bottom. Be sure not to cut all the way through. This will allow the cardboard to bend smoothly and create a round shape for your cup.
3. With a paint color of your choice and a paint roller, apply 2 to 3 coats of paint. Allow 30 minutes between each coat.
4. On another piece of cardboard sketch out the face and embellishments for your tiki cup and paint.
5. Once all your pieces are dry, glue the face and embellishments on to the body of the cup. Including gluing the rolled up poster board on the inside as the straw.
7. Finally take some scrap cardboard and cut in to strips and glue to the inside of the cup for straps.

Supplies.

Scoring with an X-acto knife.


TIKI MAN
TOTAL TIME: 4 Hours
SUPPLIES
Cardboard boxes
Box Cutter or X-acto Knife
Paint (Latex or Acrylic)
Paint Brushes
Hot Glue Gun
DIRECTIONS
1. Cut the cardboard sheet to the size you want for the mask. We recommend bending the cardboard and curving it around your head before cutting so you can see how big you want it to be and then sketch the shape of the mask on to the cardboard.
2. On another piece of cardboard sketch out the face and embellishments for your mask, cut out and paint.
3. Once all your pieces are dry, glue the face and embellishments on to the front of the mask.
4. We placed the tiki mask on our head to determine where to put the eye holes, after removing from your head, use a box cutter to carefully make small incisions where the eyes should be.
5. With some scrap pieces of cardboard, cut strips to the desired length and hot glue them to create the “helmet” that will keep your mask on top of you head.
6. For the spear we used a foam head found at the craft store, hot glued it to the top a dowel, and decorated.
7. Kane used an Aloha shirt, matching pants, and sandals, to complete the rest of the costume. If you wanted you can wear a grass skirt or leaves to push the tiki theme even further!

Supplies.

Cutouts for face.

Straps for “helmet” piece.


We’re really excited to show these off this weekend. Who knows, maybe we’ll even win some costume contests. What are you going to be for Halloween? Leave a comment below and let us know!